Mastering Gingerbread: Pro Tips for Perfect Rolling & Baking
The aroma of warm spices filling your home, the anticipation of biting into a perfectly baked treat – few things evoke the spirit of the holidays quite like homemade
gingerbread cookies. These festive delights are a cornerstone of holiday celebrations, offering a delightful blend of sweet, spicy, and satisfyingly chewy textures. But achieving that ideal balance of a soft center with slightly crisp edges, or a consistently tender chew, often comes down to mastering the fundamental techniques of dough preparation, rolling, and baking. While the basic concept of making gingerbread seems straightforward – mix, roll, cut, bake – the devil is in the details, especially when dealing with a wonderfully moist and sticky dough. This guide will equip you with pro tips to ensure your gingerbread creations are not just delicious, but also beautiful and consistent, ready to be decorated and enjoyed by all.
The Foundation of Flavor: Spices and Molasses
At the heart of every great gingerbread cookie lies a captivating blend of spices and the rich depth of molasses. It's this unique combination that gives gingerbread its signature warmth, distinct color, and irresistibly chewy texture. The classic spice profile typically includes fragrant ground ginger, warm cinnamon, pungent cloves, and often a touch of earthy ground black pepper to add an unexpected depth and subtle peppery kick that truly elevates the flavor. Each spice plays a vital role, contributing to the complex tapestry of taste that defines these holiday treats.
However, the unsung hero of gingerbread is undoubtedly molasses. This thick, dark syrup, a byproduct of refining sugar cane or sugar beets, is what imparts gingerbread cookies with their characteristic deep-brown hue and their wonderfully moist, chewy consistency. Molasses is intensely dark, bittersweet, and wonderfully sticky, acting as a natural humectant that helps keep your cookies soft long after they're baked. When selecting your molasses, aim for a true medium or dark variety rather than blackstrap molasses, which can be too bitter and robust for this particular recipe. Crucially, always confirm that your chosen molasses is unsulphured. Sulphured molasses, treated with sulphur dioxide as a preservative, can impart an off-putting flavor that disrupts the delicate balance of sweetness and spice. Understanding these core ingredients is the first step in crafting truly exceptional gingerbread. For a deeper dive into the magic of this essential ingredient and the perfect spice ratios, explore
Gingerbread Secrets: Molasses & Spice for Deep Flavor & Chewiness.
Dough Mastery: Chilling and Preparation
Even the most perfectly spiced dough can lead to frustration if not properly prepared for rolling. Gingerbread dough, by its very nature, is moist and sticky, and attempting to roll it out warm will result in a messy, unmanageable experience. This is where the crucial step of chilling comes into play.
*
The Chill Factor: After mixing your gingerbread dough, resist the urge to immediately roll it out. Instead, wrap it tightly in plastic film and place it in the refrigerator for at least an hour. This chilling period is non-negotiable. It allows the butter to firm up, making the dough less sticky and much easier to handle. It also gives the flour time to fully hydrate and the flavors to meld, resulting in a more cohesive and flavorful cookie. For best results, consider chilling your dough for 2-3 hours, or even overnight.
*
Make Ahead Marvel: One of the beautiful aspects of gingerbread dough is its make-ahead potential. You can prepare the dough up to three days in advance, storing it well-wrapped in the refrigerator. For longer storage, gingerbread dough freezes exceptionally well for up to three months. When you're ready to bake, simply thaw the frozen dough overnight in the refrigerator before proceeding with rolling. This flexibility makes holiday baking much less stressful.
*
Working in Batches: If you’re making a large quantity of cookies, your dough can warm up quickly while you’re working. To combat this, divide your dough into two or three manageable portions, keeping the unused portions chilled in the refrigerator while you work on one batch at a time. This ensures consistent dough temperature and easier handling throughout the entire rolling and cutting process.
Perfecting the Roll: Techniques for Even Thickness and No-Stick Success
The key to uniformly baked gingerbread cookies, whether you desire soft centers or crisp edges, lies in rolling your dough to a consistent thickness. Uneven dough will lead to some cookies burning while others remain undercooked.
*
The Parchment Paper Advantage: This is perhaps the most vital tip for rolling gingerbread dough. Instead of dusting your counter with excessive flour (which can lead to tough cookies), roll your dough between two sheets of parchment paper or on a non-stick silicone baking mat. This brilliant technique prevents the dough from sticking to your counter and rolling pin, eliminates the need for excess flour, and makes transferring cut shapes infinitely easier, preventing them from tearing.
*
Achieving Consistent Thickness:
*
Rolling Pin Guides: For truly uniform thickness, invest in a rolling pin with adjustable rings or use two identically thick dowels or rulers as guides. Place these guides on either side of your dough (beneath the top sheet of parchment), then roll until your pin rests evenly on the guides. This guarantees every part of your dough is the exact same thickness.
*
Even Pressure: Roll from the center outwards, applying even, gentle pressure. Avoid pressing too hard on one side, which can create thinner spots. Rotate the dough (still between the parchment sheets) frequently to ensure even rolling. Aim for a thickness of about 1/4 inch for a sturdy cookie that holds its shape well and offers a delightful chew.
*
Flour Your Cutters (Sparingly): While you want to avoid over-flouring the dough itself, a light dusting of flour on your cookie cutters can prevent sticking and ensure clean, crisp edges. Dip your cutter into flour, tap off the excess, and then press firmly into the dough. For intricate shapes, a small bench scraper or offset spatula can assist in lifting the cutouts from the parchment to your baking sheet. Remember to re-flour your cutter after every few cuts.
*
Don't Overwork the Scraps: Gather your dough scraps gently and press them together without kneading excessively. Overworking the dough develops the gluten, which can lead to tough cookies. Briefly re-chill the scraps if they become too warm before re-rolling.
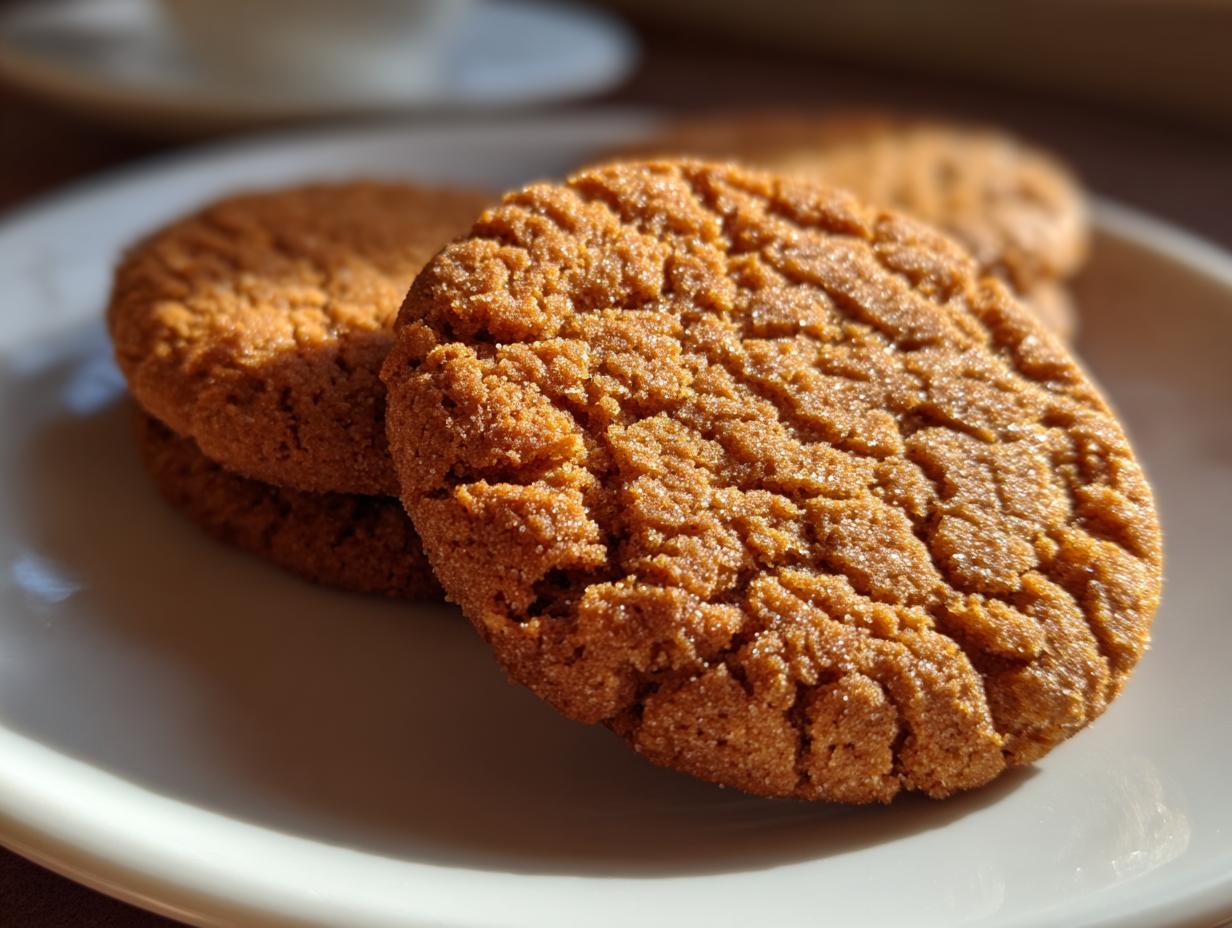
From Oven to Delight: Baking for Ideal Texture
Once your gingerbread shapes are beautifully cut, the final frontier is the oven. Baking them correctly is paramount to achieving that coveted texture, whether you prefer them irresistibly
soft and chewy gingerbread cookies or with a satisfying snap.
*
Preheat Thoroughly: Always ensure your oven is fully preheated to the specified temperature (usually around 350°F or 175°C) before placing your cookies inside. A stable oven temperature is critical for even baking.
*
Monitor Baking Time: Gingerbread cookies typically bake for 8-12 minutes, depending on their size and thickness. Keep a close eye on them, especially during the last few minutes. For soft and chewy cookies, remove them when the edges are just set and lightly golden, and the centers still look slightly soft. They will continue to firm up as they cool on the baking sheet. If you prefer a crisper cookie, bake them for another minute or two until the edges are a deeper golden brown.
*
Cooling Correctly: Once out of the oven, let your gingerbread cookies cool on the baking sheet for 5-10 minutes. They are delicate when hot and can break easily. This allows them to set fully. After this initial cooling, transfer them to a wire rack to cool completely. Cooling on a rack prevents the bottoms from becoming soggy due to trapped steam.
Creative Flourish: Decorating Your Masterpieces
With your perfectly baked gingerbread cookies cooled and ready, the final, most enjoyable step is decoration. This is where your creativity can truly shine, transforming simple shapes into edible works of art. From classic royal icing designs, complete with piped details and edible glitter, to simple glazes adorned with currants, candy pieces, or even a dusting of powdered sugar, the possibilities are endless. Decorating gingerbread is a cherished holiday tradition, a fun activity for all ages, and the perfect way to personalize your festive treats for gifting or display.
Conclusion
Mastering gingerbread cookies is a truly rewarding endeavor, transforming simple ingredients into holiday magic. By paying close attention to the quality of your spices and molasses, meticulously chilling your dough, employing smart rolling techniques for even thickness, and baking with precision, you can consistently achieve gingerbread cookies that are not only visually appealing but also boast an irresistible texture and flavor. These pro tips will guide you from a sticky dough to a stunning display of perfectly baked, soft, chewy, and deeply spiced delights, ready to become the centerpiece of your holiday celebrations for years to come.